|
Hello folks,
I am happy to present my second aircraft model for ARC. This kit was taken up
as part of a group build at Armorama.
The theme of the build was World War II US Navy Aircraft, and I decided upon
this, since it would hopefully give me a chance to try a lot of new techniques
after I got back into the hobby after nearly 5 years of hibernation. The kit
is good, cheap, and goes well together without any major problems.
 |
|
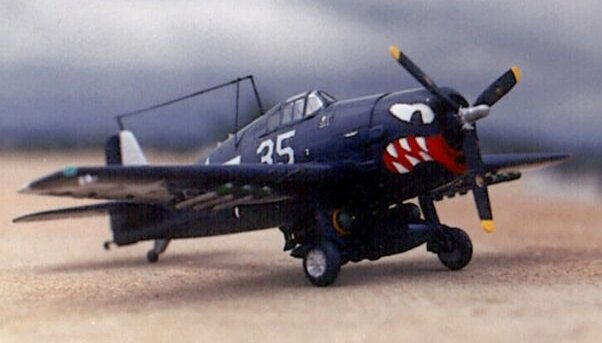
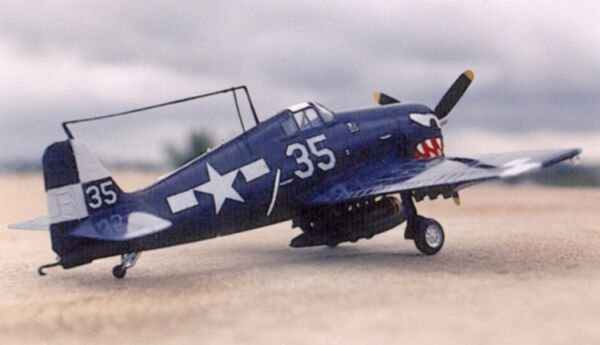
View from the
Port side
|
The kit went together very
easily, but gave problems with the wing roots, and the tailplane decals. A
BIIIIIG gap appeared at the right wing root, but I managed to get it closed
using epoxy putty. The decals for the tailplane simply fell apart, and so I
decided to paint those on, since they were pretty simple.
These are some of
the techniques I learnt while building this plane:
1. Using 3M
Invisible tape for the canopy masking, painting decals, side markings etc.
2. Airbrushing,
although it was Glossy Sea Blue all over ;).
3. Handpainting the
tailplane insignia, and the Catmouth markings.
4. Using sprue for
antenna wire.
5. Making seatbelts
using leather. (Yep, they are there ;)!
 |
|
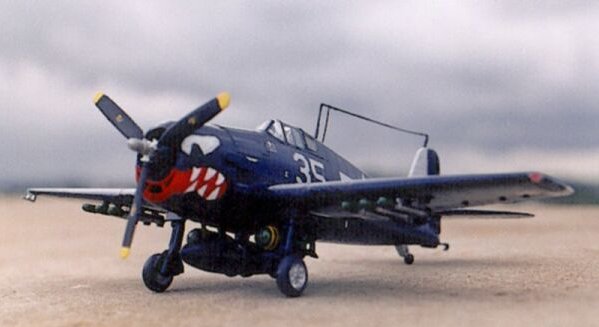
A Picture showing
the goodies on the aircraft
|
Painting the
Catmouth markings
Since the kit did
not have any great decals, apart from the usual stuff, I decided to paint my
Hellcat with the catmouth markings of the squadron based on the USS Princeton.
After the Princeton was sunk, these Hellcats were transferred to other carriers,
where the new captains asked the pilots to take the markings off. I wanted my
plane to stand out, and so decided to paint the markings in by hand. Historical
accuracy be damned!!!
I used 3M tape.
First, after applying the primer coat, I masked off the eyes and the overall
shape of the mouth. I then sprayed the whole aircraft with the Glossy Sea Blue
color. Then, using a toothpick, I carefully outlined the edges of the eyes with
Testors Flat Black. The masks were then taken off the eyes and mouth, and the
irises were painted in after painting the background with white for the
eyeballs. For the mouth, I reverse masked off the mouth area, and painted it
Testors Flat Red. Then, finally after the paint dried, I again put on a tape
mask for the mouth, and cut out the teeth. Then, in the gaps, I filled in with
Flat White. I took off all the masking tape after allowing the kit to dry in the
sun for two days, and voila!!! A Catmouth!!!
 |
|
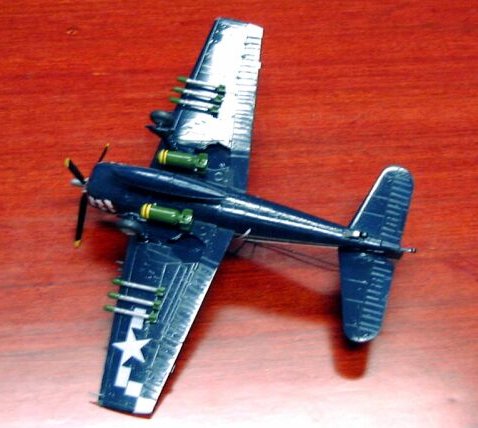
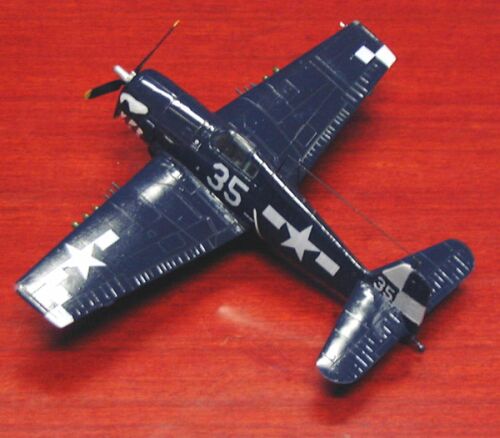
Showcasing the
top and wing surfaces
|
Photography
I again used the
same settings that I used for my Spitfire. However, it was even more cloudier,
so the pictures haven't come out all that well. Sigh!! If only I could control
the weather.......
A Parting
Shot.....
To sum up, I
thoroughly enjoyed making this kit. I learnt a whole host of new techniques
along the way, and will be definitely be using them for all my kits in the
future.
Shekar
|